It's a bake off! Junior reporters learned to make bread and beastly buns
Bread doesn’t cost much but making it may be more complicated than you think. JRs Harry Cheng and Helen Wu went to Andy’s Workshop to learn how to bake their own
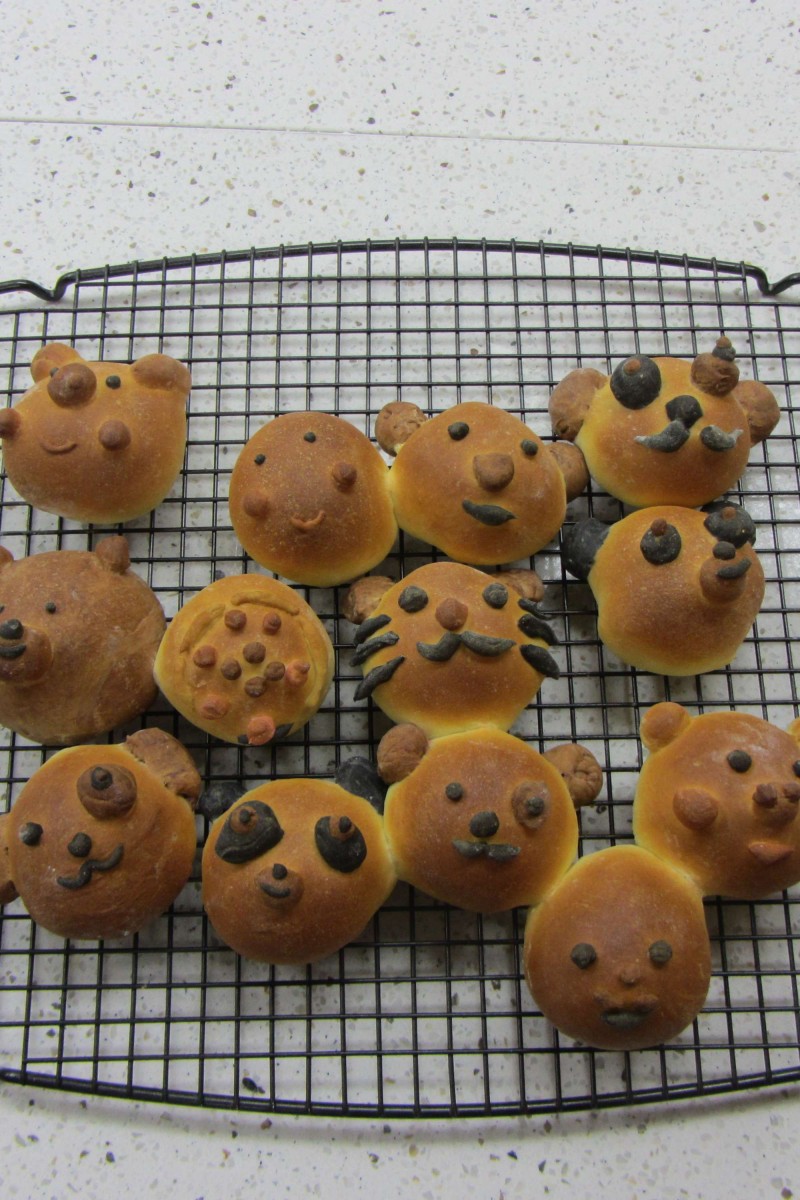
 Success! Our animal-faced buns come out of the oven ready to eat.
Hidden in an industrial building in Lai Chi Kok, Andy’s Workshop teaches bread-making and cake-making skills. Instructor Queenie Fu spent a few hours showing junior reporters Harry Cheng and Helen Wu how to make the best bread. From dough to fermentation to shaping, a lot of steps are involved in baking the perfect loaf.
Mix it up
Baking home-made bread doesn’t require many ingredients but it is not an easy task.
To start with, we had to make a dough by mixing flour, yeast, sugar, salt, milk and egg. Mixing all the ingredients around the centre, we were told to add a little bit of butter when the dough was nearly done.
As simple as it sounds, kneading dough is a sticky and tiring process. The texture seems a bit gross at first but it becomes less sticky after a while. It all depends on your ability to work fast, i.e. your experience. As beginners, Queenie told us to imagine that we were hand-washing our clothes: just push and pull. This is hard work as it can take at least 10 minutes to get a dough.
After you have done your kneading, you can check whether your dough is good to go by stretching it. If your dough can be stretched into a translucent film without breaking, it means you can proceed to the next stage.
The magic of fermentation
We put a little butter in a bowl and then left the dough in it for about 45 minutes to ferment. The dough is ready when it is almost two times bigger. We had to use plastic wrap to cover the bowl so that the bread wouldn’t be too dry.
Fermentation can be tricky. Yeast is a living organism and will ferment only if it is moist and warm enough, like 32℃degrees. If it is winter, you may not get any result even after a few hours. The simplest solution is to turn on the heater, which is also why it always feels hot when you are making bread. Or you can use a warm water bath around the bowl to keep the temperature up.
Harry Cheng
Supersize my dough
After the first fermentation, the dough appeared to have doubled in bulk, thanks to our yeast’s hard work. Since we couldn’t gulp down bread rolls of that size, we cut the dough into roughly equal smaller pieces, comparing their weights with a set of kitchen scales. We stretched the dough into round shapes (or as round as we could manage) and squeezed the air bubbles out. Then came the fun part – decorating them into adorable animals!
Queenie prepared some coloured dough for us in advance, by adding pinches of edible colour additives: cocoa powder (brown), green tea powder (green) and bamboo charcoal powder (black). We could show off our artistic skills and craftsmanship, but we had to cover the first lot of dough under a towel or it would lose its moisture (and the faces of our piglets or kittens would sag). A second fermentation would take place before our dough “animals” were put in the oven.
If we thought we could then cross our arms, sit back and relax, we had to think again. We needed to check on the bread at regular intervals, each 30 minutes, and readjust the temperature if necessary to avoid burning it.
We tapped on the base of the bread and listened to the sound to determine whether it was done.
Tips from the teacher
Queenie told us, “You never know what your bread will look like until the moment you pull it out of the oven”. Making bread may not sound as fancy as making cakes or chocolate, but it is the most difficult of the three (and thus gives you a greater sense of accomplishment). Every single step counts (even washing your hands), so to be a good baker, you must be cautious and patient.
At the beginning, when mixing all the ingredients and making the dough into a solid ball, the sticky mixture literally covered my hands. It could be quite frustrating as you can’t easily get rid of that gluey goo, but this process only lasted for a few minutes. We relished the joy of seeing our little loaves finally come into shape after such effort!