
An old way of capturing pictures on film uses just a box pierced with a needle. Eight YP junior reporters were surprised to discover how good the results can be
Compiled by Joyee Chan and Pearl Chan
Eight Young Post junior reporters tried the art of pinhole photography.
Pinhole experts Tony Lim Chi-kin and Leona Wong Wing-lam taught the group how to make their cameras out of black foam boards and duct tape. In the afternoon they went to take pictures. At the end of the day, they dropped by the Photocrafters Darkroom, Sheung Wan, to develop their films with the help of photographer and co-owner South Ho Siu-nam.
How it works
An earlier name for a pinhole camera was a camera obscura, which means "dark chamber" in Latin, describing a box pierced by a hole. Pinhole photography is based on reflection of light. Objects reflect light rays. When these rays pass through the pinhole of the camera, they project an upside down and back to front image on the photographic paper inside the box. The smaller the pinhole, the sharper but dimmer the image will be.
Do-it-yourself camera
Even a digital camera can produce photographs from a pinhole lens. But in the workshop, we made cameras that used film.
We made the cameras from two thick pieces of black cardboard, using two paper templates. After cutting everything out, we followed the diagrams printed on the sheets of paper and used black fabric electrical tape to join everything together and seal up all nooks and crannies.
We pierced the centre of the front of the camera with a pen. We covered this hole with aluminium foil. Then with a sewing needle we made a hole with a diameter of 0.2mm. This is the pinhole.
Then we used more tape all over to ensure that no light would seep through, aside from through the pinhole itself, to avoid overexposure of photos. To finish, we covered the pinhole with a piece of tape to act as the shutter of our camera. To work the shutter, you just take off the tape, then put it back on again after enough light has entered.
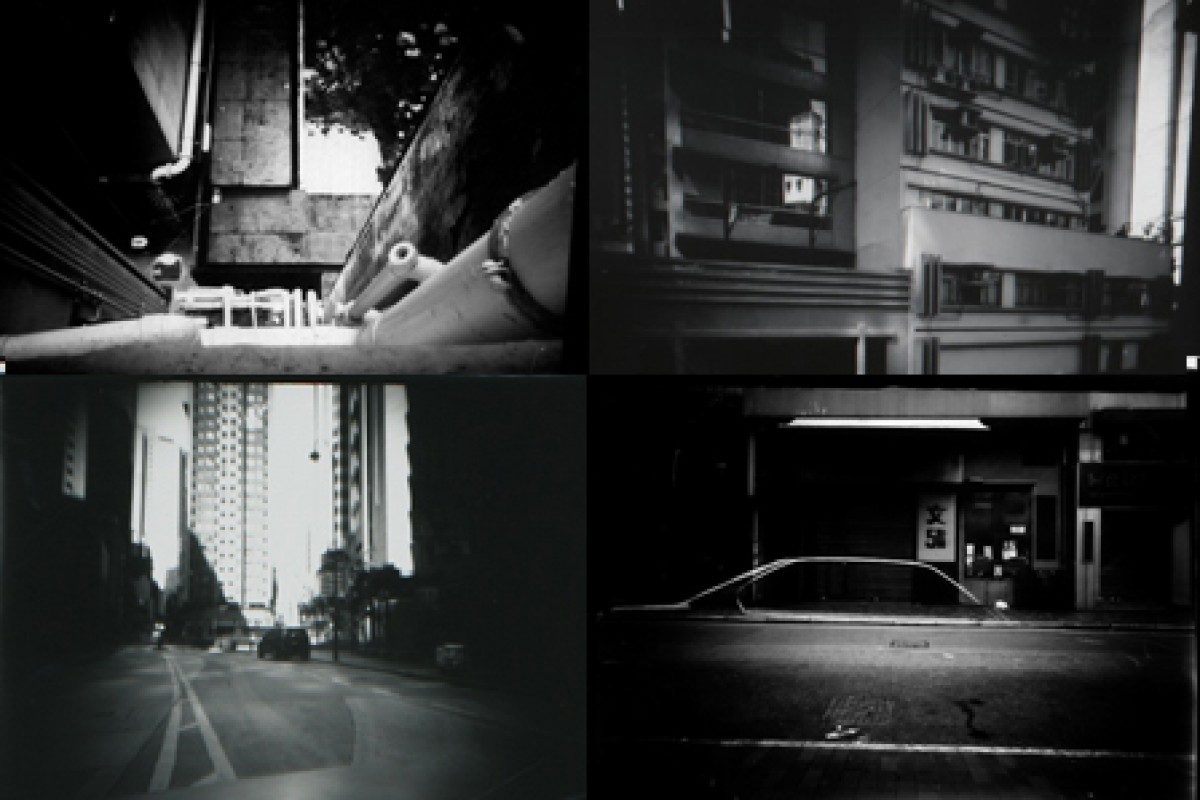
With everything sealed and complete, we placed a sheet of photographic paper inside the camera, with the glossy side facing the hole, and photographed Sheung Wan in its afternoon glory.
Shooting
Making our cameras from scratch wasn't the toughest part of the experience. The hardest challenge came after lunch, when we started taking photos. Lim had explained how the pinhole camera operated and that we needed more time for exposure as the aperture was f/250. We thought it would be easy, but after developing our photos, we discovered that nearly half of them failed as they came out either too dark or too bright.
When shooting, pinhole photographers have to be very careful about how long they expose for and where they take their photo. Leaving the aperture open too long in too much light or too short in too little light produces photos that are completely black or white. A lot of us learned that the hard way, each ending up with a few failures, as Lim put it. It hardly helped that when asked how to get the timing right, he only told us to guess.
We tried again and again. Some of us got it right, some of us needed more time. One of us had to go to the harbour three times to get the exposure just right, before producing an image. The first time it was too bright, the second time it was too dark, but the third time it was perfect. For those determined enough, a perfect photograph was not an impossible feat. In the end, we all managed some beautiful shots or at least one decent photo.
Developing pictures
After each shot, we soaked our photo paper in developing chemicals and hey, presto, our images started to appear. Actually it was not that easy: we had many trial-and-error shots with sometimes even nothing developing.
Before this workshop, we had no idea that pinhole photography was so technology-free. It is an art to master natural light in this way.
Lim said he used to develop film in the bathroom! He turned off the lights and covered the windows. He then developed in the tub. "Make sure your parents won't get cross," he said, laughing.
In the darkroom, the lights are turned off. You take out the photo from the camera carefully and put it into the first tray, containing liquid developing chemicals. An image should appear. Wait for two minutes and move it using tongs to a second tray, a stop bath, which halts the chemical action. Do it again into a third tray, containing fixer, which makes the image permanent. Then clip it up until it dries. The development process is completed.
Our reaction
Before joining this workshop, we did not know that a simple, cheap box could capture such amazing photographs. We thought we would go home with only fuzzy pictures.
As beginners in photography, we were glad to have been given the chance to try this form of shooting in the digital era.